Ceiling repair inspection checklist
- Confirmed source of roof, plumbing or HVAC moisture
- Dryness and condition of gypsum, insulation and accessible framing
- Ceiling thickness and any required assembly rating
- Patch boundaries, nearby joints and texture pattern
- Primer, ceiling paint and protection for occupied rooms
Correct the source before closing
A ceiling stain does not identify the full path of water. The roof, plumbing or mechanical source should be corrected and the affected assembly evaluated before new drywall closes the cavity.
Match the existing ceiling assembly
The repair scope should identify board thickness and any special assembly requirements instead of selecting material by appearance alone. Loose, sagging or deteriorated material may require a wider repair than the visible stain.
Blend the finish in stages
A durable repair includes fastening, tape, joint compound, sanding, compatible texture, primer and paint. Side lighting often reveals patches, so the estimator should discuss how far texture and paint must extend for a reasonable blend.
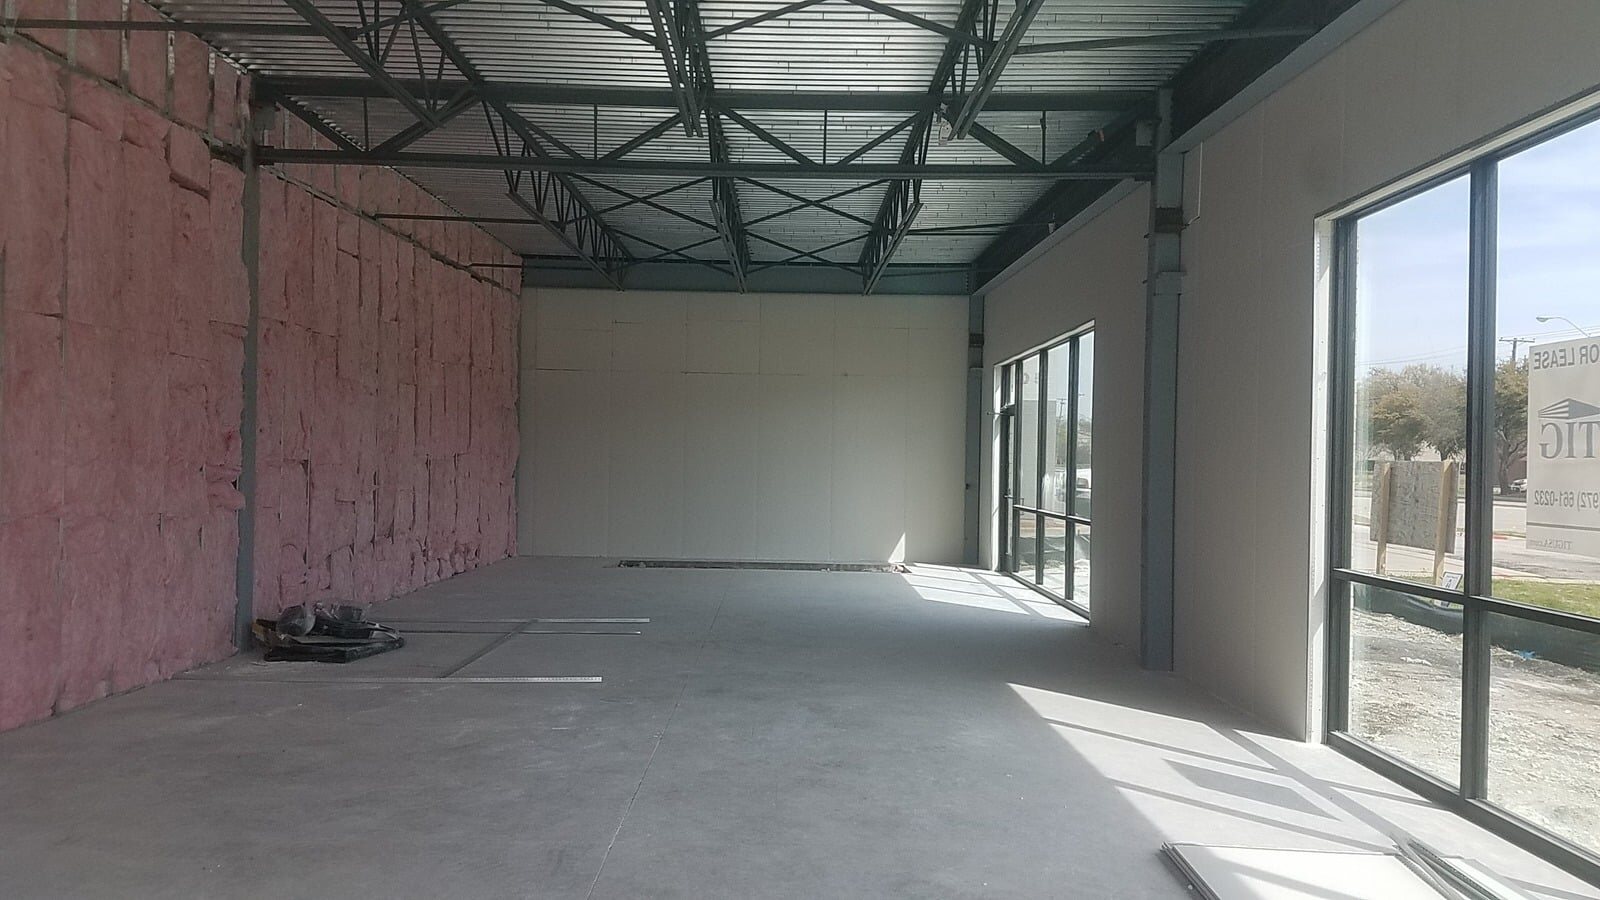
The image verifies Luna drywall experience in DFW and is not represented as the exact Garland ceiling in this guide.
What to inspect
Inspect framing, insulation and surrounding material before closing the opening.
Planning the work
Patch support, fastener spacing, tape, compound and texture blending affect how visible the repair remains.
Avoiding repeat problems
Primer and repainting to natural breaks can reduce flashing and sheen differences.
Related Local Service
Frequently Asked Questions
Should this work be inspected in person?
Yes. Site conditions, access, materials and hidden damage can change the correct scope.
Do you provide estimates in Garland?
Yes. Call (817) 784-5998 to discuss the project.