Exterior trim repair checklist
- Soft, split or loose trim and the condition behind it
- Roof edge, window, door and wall details that direct water
- Existing dimensions, profile and adjacent finish materials
- Replacement material, fasteners, joints and end-grain treatment
- Flashing, sealant, primer and finish-paint sequence
Find the water path
Rotten trim is often the visible result rather than the source. Roof runoff, failed joints, missing flashing or open transitions should be reviewed before replacing the damaged board.
Rebuild the detail, not only the face
Removal may reveal damaged sheathing, framing or an incomplete weather detail. The estimate should define what is visible now, what is assumed and how concealed conditions will be documented if the scope changes.
Protect every cut and joint
Material selection should fit the location and existing profile. Compatible fasteners, supported joints, treated cuts, primer, sealant and finish paint work together; relying on a bead of caulk alone does not rebuild a failed exterior trim assembly.
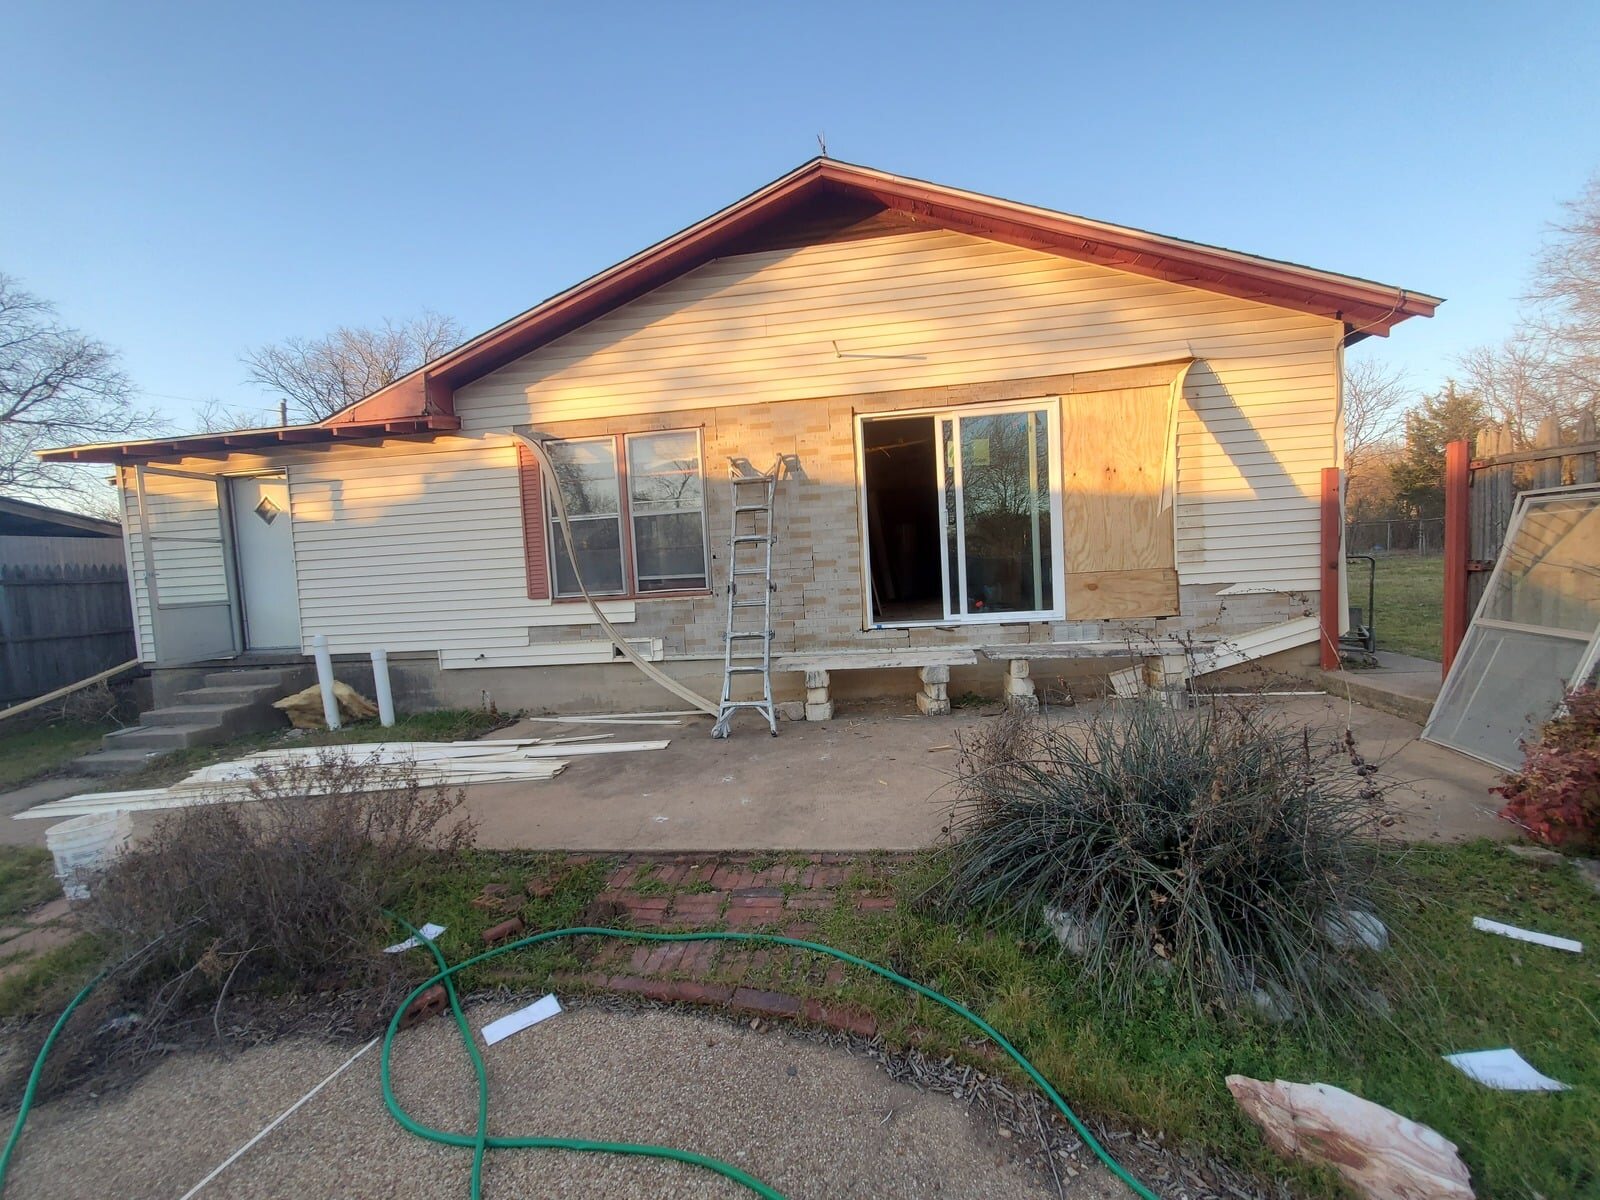
The photograph verifies Luna exterior-finish workmanship in DFW. It is not claimed as a Keller trim project.
What to inspect
Determine whether damage is limited to trim or extends into sheathing, framing or flashing.
Planning the work
Replacement material should be selected for exposure, movement and paint compatibility.
Avoiding repeat problems
Joints, fasteners, caulk and primer must work together to reduce future water entry.
Related Local Service
Frequently Asked Questions
Should this work be inspected in person?
Yes. Site conditions, access, materials and hidden damage can change the correct scope.
Do you provide estimates in Keller?
Yes. Call (817) 784-5998 to discuss the project.