Roof-flashing inspection checklist
- Roof-to-wall transitions and step or counterflashing
- Chimneys, vents, skylights and other penetrations
- Valleys, edges, kickout details and drainage paths
- Adjacent shingles, underlayment, decking, siding or masonry
- Previous sealant patches and interior leak history
Trace water beyond the visible stain
Water can travel along decking, framing or a penetration before appearing indoors. Inspection should connect the interior pattern to roof transitions and drainage rather than assuming the nearest surface crack is the source.
Repair the surrounding assembly
Flashing works with shingles, underlayment, siding, masonry and sealant details. A lasting scope may require carefully opening adjacent materials to restore laps and drainage; surface caulk alone is not a substitute for missing or incorrectly integrated flashing.
Match materials and sequence
Metal type, coating and connection details should be compatible with the surrounding roof system. The scope should also identify which materials are removed, replaced or reused and how exposed areas will be protected during the repair.
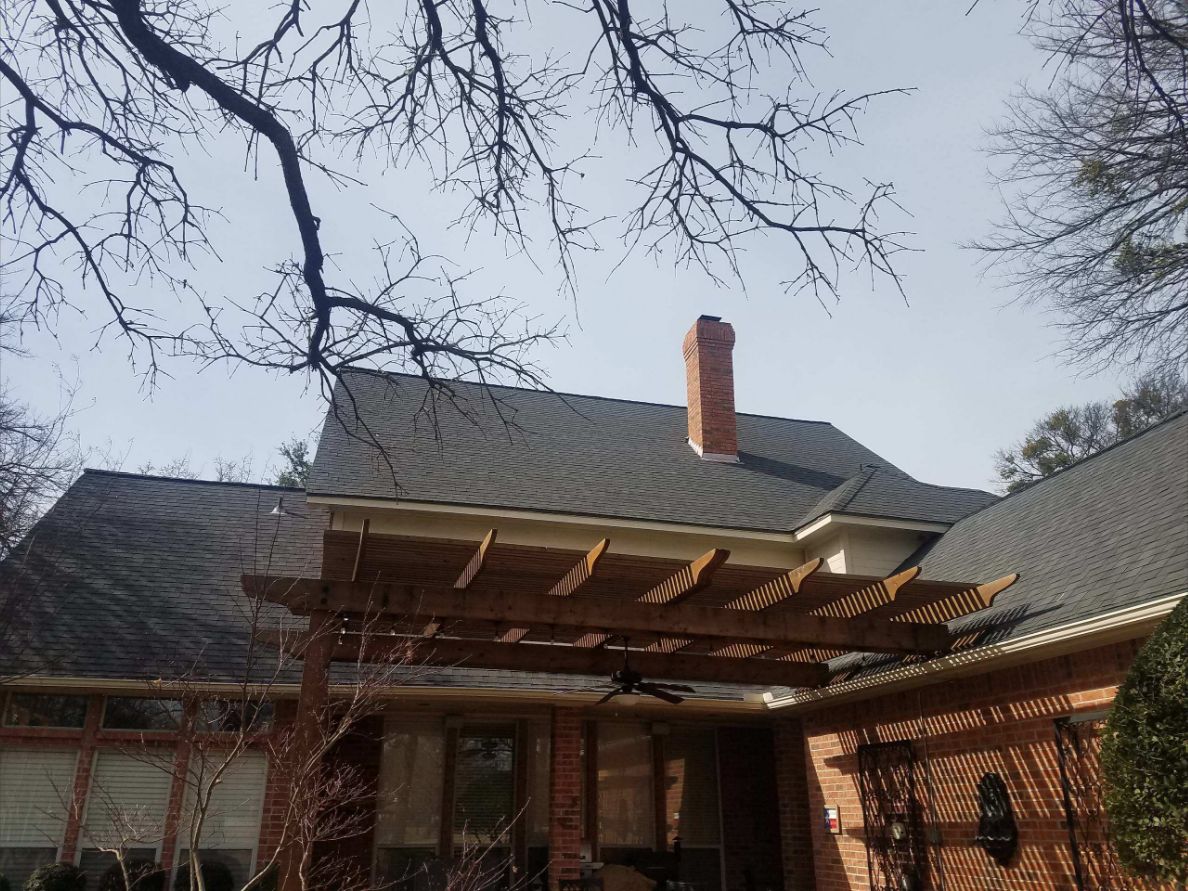
The photograph verifies completed Luna roofing work in DFW and is not claimed as a Grapevine flashing repair.
What to inspect
Look for lifted metal, failed sealant, improper overlaps and staining below the transition.
Planning the work
A surface patch may not solve the problem when flashing was installed incorrectly beneath the roofing.
Avoiding repeat problems
Repairs should follow the water path and restore layered drainage rather than rely only on exposed caulk.
Related Local Service
Frequently Asked Questions
Should this work be inspected in person?
Yes. Site conditions, access, materials and hidden damage can change the correct scope.
Do you provide estimates in Grapevine?
Yes. Call (817) 784-5998 to discuss the project.